
Canva is a popular tool for making pictures and designs. Sometimes, you want to remove a part of an image. This is where the Picture Eraser in Canva helps. It lets you erase unwanted parts of your photo easily.
What Is the Picture Eraser in Canva?
The Picture Eraser is a tool inside Canva. It removes parts of an image. You can erase the background or small objects you do not want. This makes your picture look clean and neat.
Before Canva added this tool, users had to use other apps. Now, you can do it all in one place. This saves time and effort.
Why Use the Picture Eraser?
- Remove unwanted background
- Erase small objects in photos
- Make your design look better
- Create images with transparent parts
With erased parts, you can add new backgrounds or layers. It helps to make creative and unique designs.
Step-by-Step Guide to Use Picture Eraser in Canva
Follow these simple steps to erase parts of your picture in Canva.
Step 1: Open Canva And Start A Design
Go to Canva.com. Log in or sign up if you do not have an account. Click on “Create a design” and choose a size you want.
Step 2: Upload Your Image
On the left side, find the “Uploads” tab. Click “Upload media” and choose your picture. Wait a few seconds until the image is ready.
Step 3: Add The Image To Your Design
Drag the uploaded image onto the blank canvas. You can move or resize it as you like.
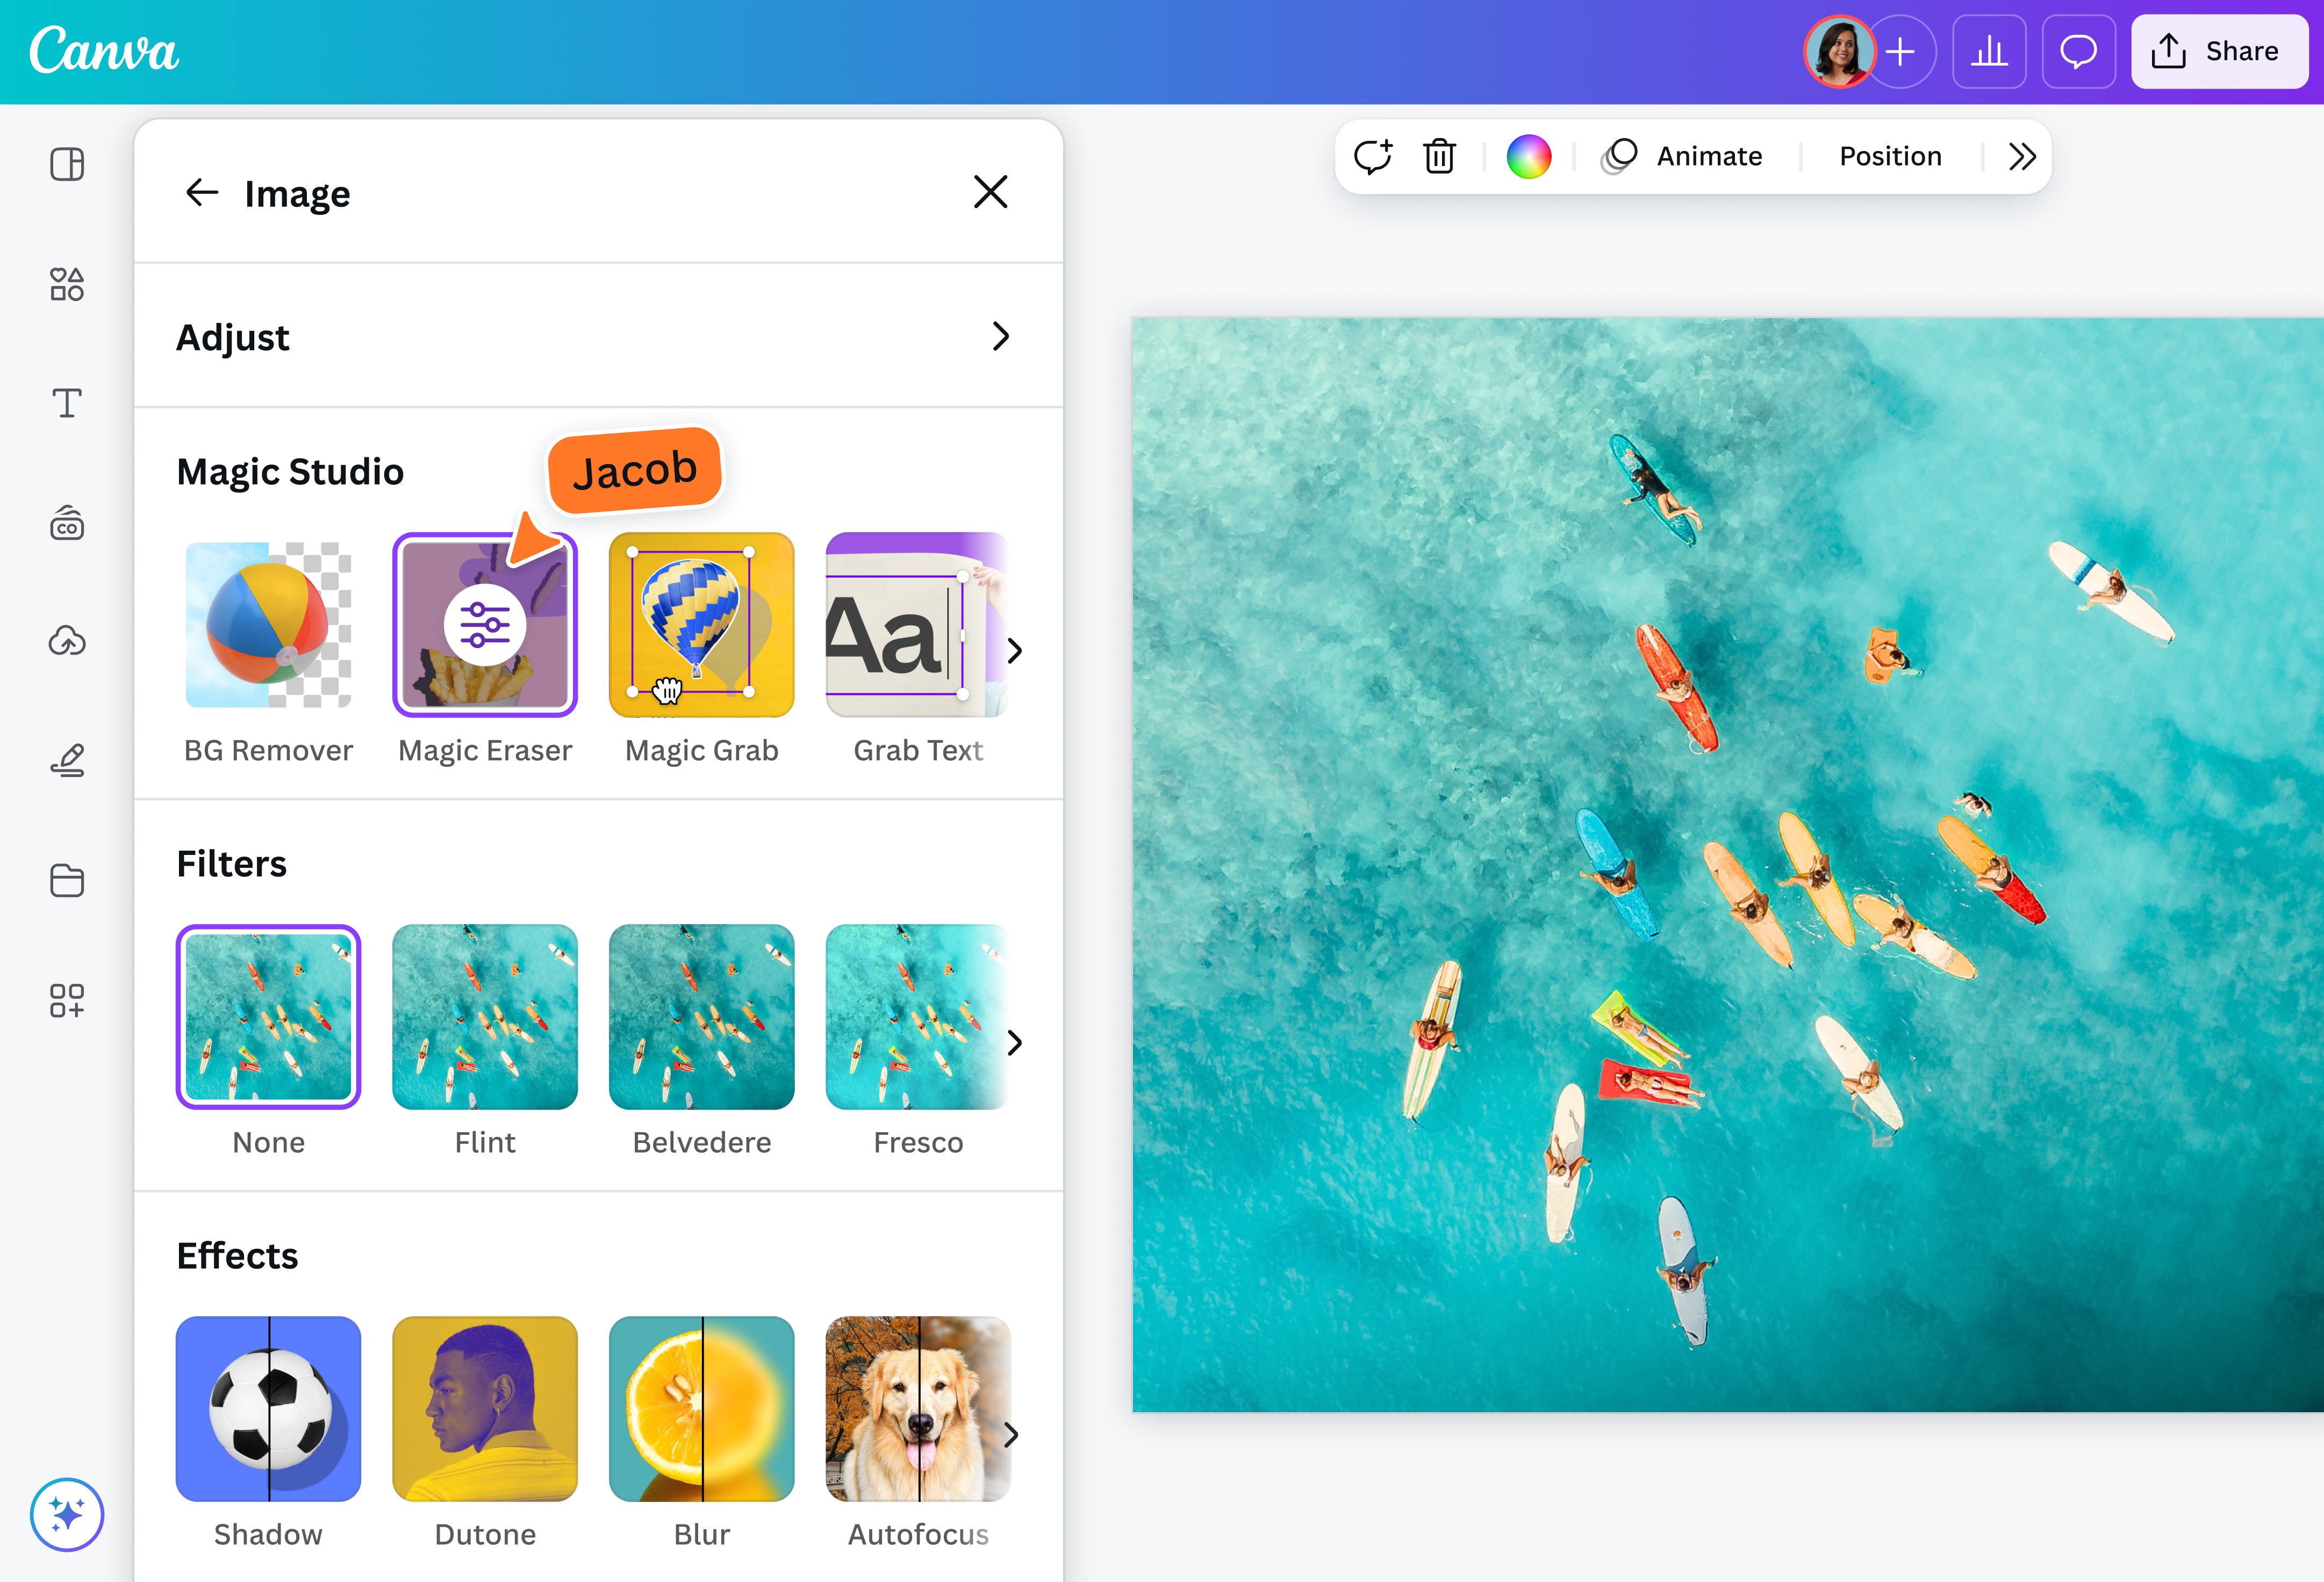
Step 4: Select The Picture Eraser Tool
Click on the image to select it. Look for the “Edit image” button above the canvas and click it. In the panel that opens, find “Background Remover” or “Erase” tool.
Note: The eraser tool may be part of Canva Pro features. If you use the free version, check if the background remover is available.
Step 5: Use The Eraser
Click the eraser tool. A circle pointer will appear on the image. Move the pointer over the parts you want to erase. Click or drag to remove those areas.
Use the + and – buttons to change the size of the eraser. Smaller size helps erase tiny details. Bigger size removes large parts faster.
Step 6: Zoom In For Detail Work
If you want to erase small details, zoom in on the image. Use the zoom slider at the bottom right. This helps to see clearly and erase carefully.
Step 7: Use The Restore Tool If Needed
If you erase something by mistake, use the “Restore” tool. It lets you bring back erased parts. Switch between eraser and restore to get the perfect look.
Step 8: Finish And Save Your Work
When you are happy with your edits, click “Done” or close the eraser panel. Save your design by clicking “Download.” Choose the file type you want, like PNG or JPG.

Credit: www.youtube.com
Tips for Using Picture Eraser Well
- Use a clean, high-quality image for better results.
- Work slowly on edges to avoid mistakes.
- Zoom in for small and tricky parts.
- Use the restore tool to fix any errors.
- Try different eraser sizes for best control.
- Save your work often to avoid losing progress.
Credit: www.canva.com
Common Uses for Picture Eraser in Canva
Many people use the eraser tool for different reasons. Here are some examples:
| Use | Why |
|---|---|
| Remove Background | To place the subject on a new background |
| Erase Unwanted Objects | To clean up the picture |
| Create Transparent Areas | For logos or overlays in designs |
| Make Collages | To blend images smoothly |
| Focus on Main Subject | Remove distractions in the image |
Alternatives if Picture Eraser Is Not Available
If you do not see the eraser tool in your Canva, try these options:
- Use the background remover tool to delete backgrounds.
- Try other free apps like Remove.bg for background removal.
- Use simple cropping to cut unwanted parts.
Then, upload the edited picture back to Canva.
Final Thoughts
The Picture Eraser in Canva is useful for many projects. It helps to remove parts you don’t want in your images. The tool is simple to use with a little practice.
Remember to take your time. Zoom in and erase carefully. Use the restore option when needed. This way, your design looks clean and professional.
Try using the Picture Eraser on your next project. See how it changes your designs. Canva makes editing images easy and fun.
Frequently Asked Questions
What Is Picture Eraser In Canva?
Picture Eraser in Canva removes unwanted parts of an image easily and quickly.
How Do I Remove Background Using Picture Eraser?
Select the image, choose Picture Eraser, then brush over the background to erase it.
Can I Undo Mistakes In Canva’s Picture Eraser?
Yes, use the undo button or adjust the eraser size for better control.
Is Picture Eraser Free To Use In Canva?
Basic erasing features are free; some advanced tools may require Canva Pro.